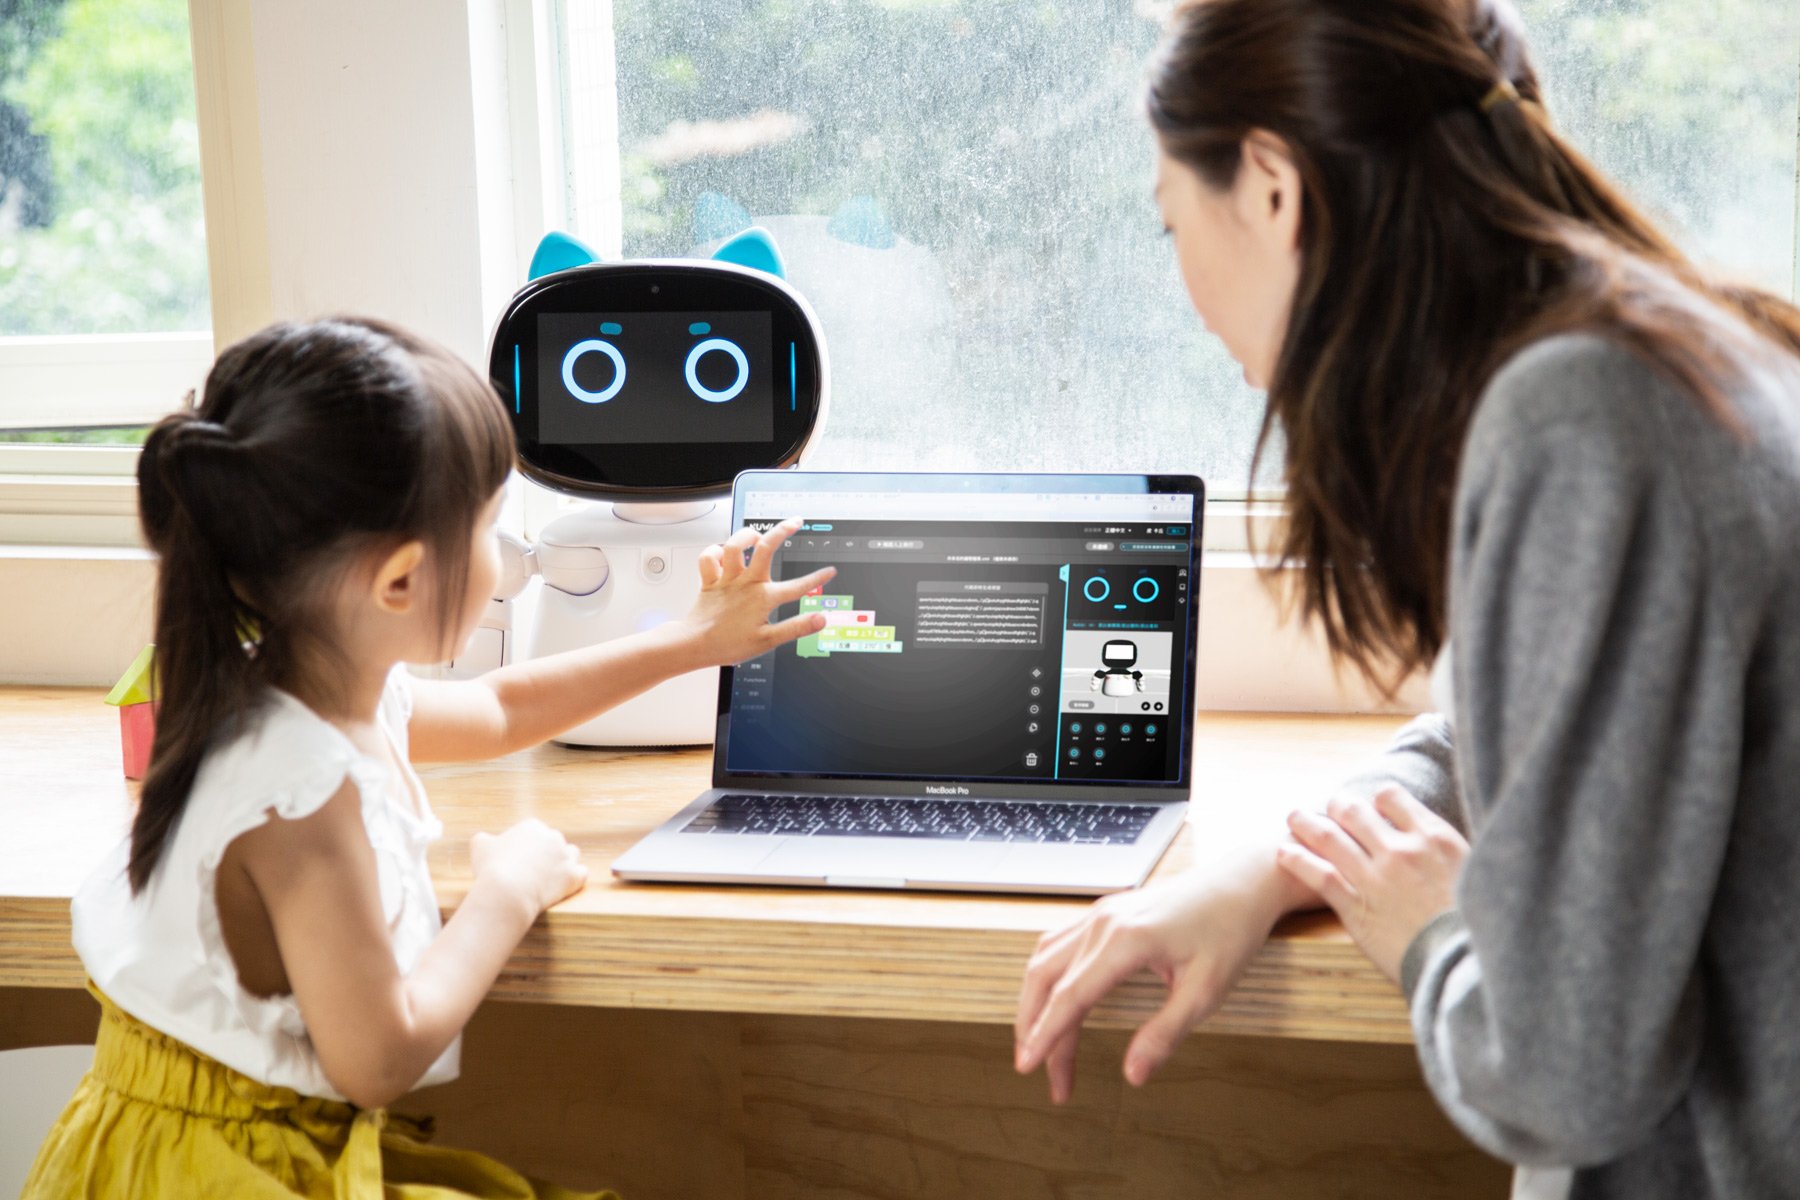
Coding and robotics can be just as engaging when students learn from home-all it takes is a little planning and some creativity.

By JOE SLIFKA
When our school shut down in March, initially, it was for a two-week period. I thought, “Well, this isn’t too bad, we can do a few coding activities from Code.org or maybe put together some Google Slides presentations for when we return.”
Then, two weeks turned into the end of April and my plan had to change.
As the technology teacher in our district, I felt I was adept at communicating with my students online (we are a Google Apps for Education school, and I’ve been a Google Classroom user since its beginnings), but I knew others in our district weren’t quite as tech savvy. I put together a few tutorial videos on how to use Google Classroom, Google Meet, and Zoom for our staff members to use to reach out to their students.
As April turned into May, the likelihood that we would be returning to school dropped substantially. Virtual graduations, meal deliveries, and Google Meets became the new normal–a phrase I quickly came to despise. As I’m sure many of you educators out there would agree, we concluded our school year, but it felt like we never really finished.
Since then, we’ve had virtual staff meetings, listened to our elected leaders try to make informed and well-intended guidelines and recommendations, and witnessed some amazing acts of humanity. As more information becomes available, it is clearer and clearer that plans need to be made for the “just in case” scenario occurring again during the 2020-2021 school year.
Teaching coding, robotics, and CAD this school year requires a bit more planning this summer than I am accustomed to doing. Our district will continue utilizing the Google Education Suite (Classroom, Meet, Chat, Docs, etc.) for communicating with our students. The folks at Code.org have really done a fantastic job at creating a comprehensive coding curriculum for students, so I want to continue utilizing that to introduce coding in my “virtual” classroom.
The physical component
However, learning to code was always reinforced for me with a physical component, which is why I absolutely love teaching robotics–seeing my program in action with a robot driving forward and moving an object just made more sense to me and my kinesthetic learning style. Kinesthetic learners feel the same way.
I had been teaching using the LEGO Mindstorms EV3 system in my junior high classes my first three years at LaBrae, when I approached our superintendent and shared with him my vision of expanding our course offerings and taking our afterschool robotics club to the next level. After researching solutions, I concluded that the TETRIX MAX solution from Pitsco Education was the next logical progression for our district due to compatibility with the LEGO system as well as the capability to scale up our build projects.
At the beginning of this past school year, I was elated to learn that my district would be purchasing PRIZM controllers, as well as the new TeleOp Modules, for each of our TETRIX MAX kits. This ushered in a whole new level of capabilities for our robotics classes. When word got out that we were using PlayStation 4 controllers in class on our robots, we had teachers and students alike peeking their heads in Room 929 to ask if they could try them out!
Coding and robotics online
So, what will teaching robotics and coding look like in 2020-2021? My plan is to introduce my students to the PRIZM Learning Module (PLM), a rectangular station I created that utilizes multiple motors, servos, distance sensor, line finder sensor, and the blinking LED lights of the PRIZM controller into a single learning station. If we start the school year in a face-to-face scenario, I plan to have the students build the PLM so that I can show best building practices using the TETRIX system, cable/wire management, and creating a wiring guide.
The PLM will serve as a springboard to coding, as many of my HS students will be first-time robotics students and will be using the text-based programming in the Arduino IDE for the first time. If our district moves forward with a hybrid approach of in-person and at-home learning, or if a resurgence occurs and forces schools to close again, students will be able to continue working and creating their code at home.
Once students feel they have successfully completed the code, they can either email the file to me or upload it in an assignment in our Google Classroom page. Then, I will be able to take their program and demonstrate the code on a PLM I will bring home with me, and I can share the results via video chat.
As we progress out of the PLM and into building the RangerBot basic driving robot from the Engineering Mobile Robotics Curriculum Pack and the BeeDee design from the Coding Essentials Curriculum Pack, students will be able to create programs for the challenges from the curriculum packs, and I can again demonstrate with them their solutions on identical fields I plan to have both in my classroom and in my basement here at home.
We are also looking to get our hands on the new Tello EDU drone kits available now from Pitsco, though I am not sure my dogs will be big fans of them buzzing around the house as my students take their coding skills to the skies!
Source: robotlab.com
- Nhận đường liên kết
- X
- Ứng dụng khác
- Nhận đường liên kết
- X
- Ứng dụng khác
Nhận xét
Đăng nhận xét